The content of the article
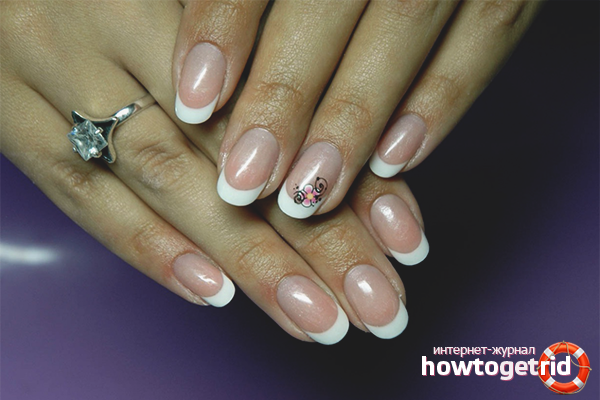
Beauty salons offer a wide range of services, including nail and gel acrylic nail extensions. Every self-respecting girl should watch over her hands, regardless of whether she works or does household chores. If a lady builds up nails in the salon, she is forced to visit a specialist every 3 weeks, because the nail plate grows quickly and there is a need for correction. It is important to learn how to carry out the procedure yourself in order to avoid unnecessary expenses and loss of time.
Nail extension methods
Masters use tips and forms to work with materials.
Building on tips
They are made of plastic, represent an elongated plate that is attached to the edge of the native marigold with glue. Next, apply a gel or acrylic, the surface is polished and you can begin to create a picture. Tips are convenient because they only use the edge of the nail, so that the impact on the natural plate is minimized. The material is produced in various lengths and shapes, which allows in a short time to choose the appropriate option. After attaching the plate to the nail, it is given the desired size, and the excess is cut with a special tip cutter.
Building on forms
The material for the work is made of dense paper base, which is covered with polyethylene on top. The outer part is equipped with a sticky layer, which keeps the shape on the natural nail and does not allow it to break, until the master finishes the work. The outer side also does not allow the material to stick or be absorbed into its surface. As a rule, forms are disposable, there are also reusable ones with special clips, but they are not used at all.
When choosing the preferred method of extension, build on the length of your own nails.If they are trimmed under the root and there is no free edge of 1-2 mm, the form will have nothing to attach. Tips, in turn, are not very strong, but the process will take place 1.5 times faster.
Features nail acrylic
Initially, acryl was used exclusively by dentists for the implantation and repair of teeth, now the masters have resorted to this method in cosmetology. Acrylic is a compound of liquid crystals (liquid) and loose powder. The liquid interacts with oxygen, as a result of which the material solidifies and a strong layer is formed.
Acryl is muddy, so the aquarium design immediately disappears, for these purposes it is better to choose a gel. However, if you prefer a gel, you can forget about perfect lines and a clear outline, since this plus belongs to acrylic. If you use this method in an apartment or in a closed unventilated space, you will go crazy with the smell of the material.
The thing is in the monometer, which is used in building on this technology. Its toxic and volatile smell in a flash spreads around the room.If you stopped on the acrylic method, make a separate room for yourself, thoroughly air it, close the door and do not allow the child and pets to enter it.
Features nail gel
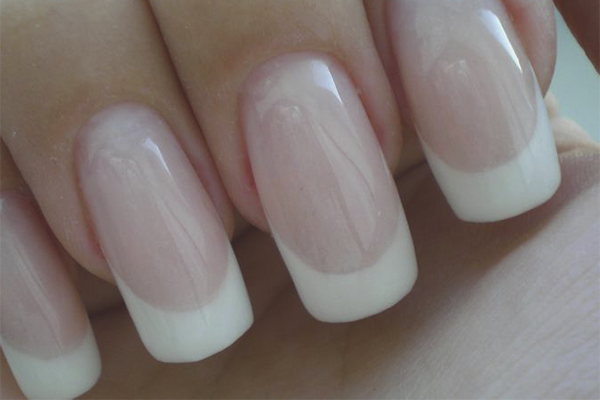
This direction appeared not so long ago, but it has already taken an honorable place in the hearts of its owners. As a rule, the gel consists exclusively of natural polymers, as a result of which it is harmless to nails. Most often it contains resin of coniferous wood, therefore artificial coating is non-toxic and resistant to various factors.
The gel has a special strength and durability, the process does not stand still, and manufacturers began to produce a composition of a denser consistency. The material will not spread on the native nail, which allows the beginner to carry out the procedure carefully and efficiently. The gel does not have a sharp and repulsive odor, it does not harden in a few minutes, like acrylic, which is an indisputable advantage of this technology.
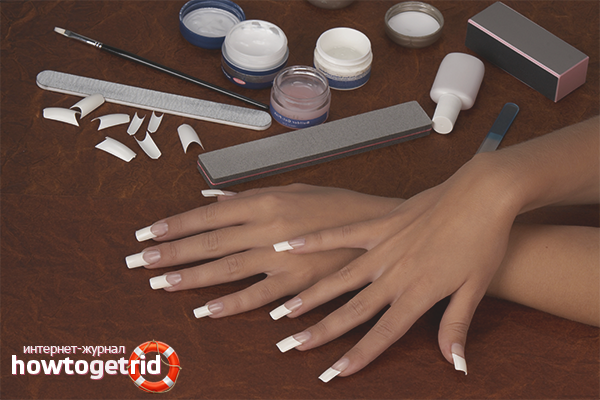
Necessary tools and materials
- 36 watt UV lamp
- Cuticle spatula.Choose an instrument from an orange tree, this material is more gentle on the skin, it is soft and environmentally friendly.
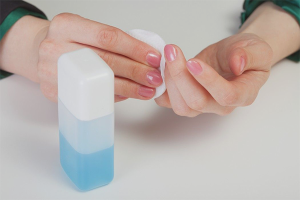
- Disinfectant. For hands suitable antiseptic, tools can be boiled, and then treated with alcohol. If these options do not fit, buy Kutasept for hands and Bacillol for tools.
- Saws Abrasive tools for acrylic nails - 80/100, for gel nails - 100/120. The higher the score, the softer the nail file. You will also need a glass file for natural nails.
- Dehydrator is a special liquid compound designed for degreasing natural nails.
- Brushes. All of them must be natural, artificial leave the pile on the gel or on acrylic, then it can not be removed. You will need a round brush for applying acrylic and a flat brush for the gel.
- Forms or tips. Glue should be attached to materials, do not use it, it is bad. Buy glue separately for each method of building.
- Monometer - a special liquid, which is required only for nail acrylic.
- Tweezers are needed exclusively for forms to grip and attach them.
- Primer - means for processing natural nail plate, which provides a strong connection with an artificial nail.
- The finish - means adds to the increased nails shine, it is necessary both for acryl, and for gel.
- Liquid to remove the sticky layer at the end result.
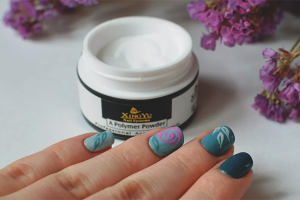
- Special construction gel or acrylic powder, the choice is made in favor of a particular technology of building.
- Tipresorez needed if the capacity is on tips.
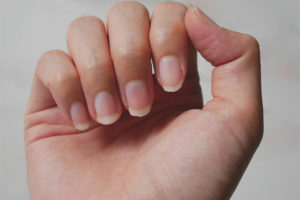
Preparation of nails for building
Important: if you have a fungus or cracks on your nails, you should not start the procedure.
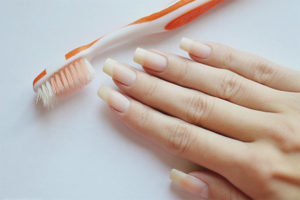
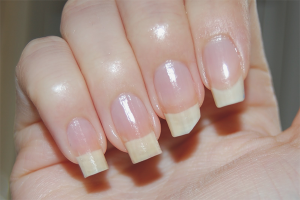
Disinfect hands. Take an orange shovel and move the cuticle up, but do not cut. Use a nail file to cut the top layer of your nail, move from the center to the edge. You need to make the surface of the plate matte.
Treat the edge of the nail, do not make it too sharp, or vice versa square, bring the shape to a soft oval. Remove the dust, then cover the nail with a primer.
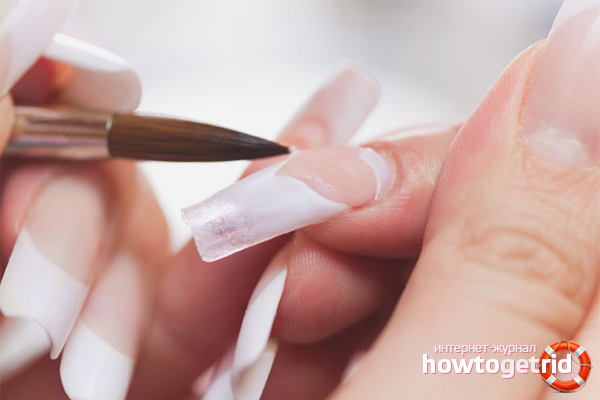
Gel nails on the form
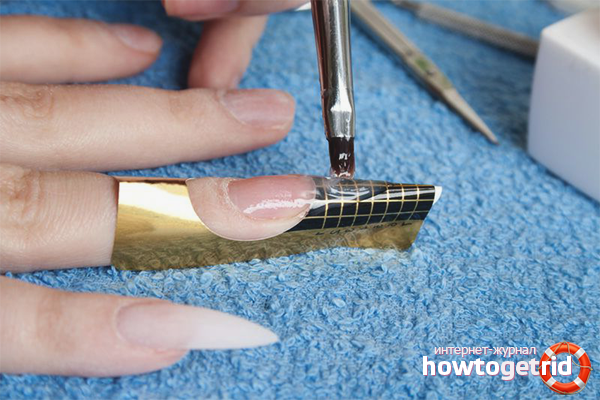
- Take the form and fasten them on the nails, connecting the ends together.Enter the material under the plate, not on it. Gel your nail together with the form. Look at the scale, remember, on what division you stopped, so that on the following nails to bring the gel to the same length.
- After applying the first layer, place the nail in the lamp for 45 seconds. For your convenience, first grow four fingers, process them and dry them thoroughly, and after them go for building on your thumb. When the layer has dried, take a file with an abrasiveness of 100/120 and begin to gouge the surface.
- Remove the dust with a napkin and proceed to the second, more dense layer. Apply the gel and turn the palm upwards so that the material spreads over the plate evenly and does not crawl onto the cuticle. Dry the layer for 2 minutes.
- Unpin the forms from the extended nail. Take the adhesive remover, put it on a cotton swab and walk on the surface. Then gash the second layer to a matte state.
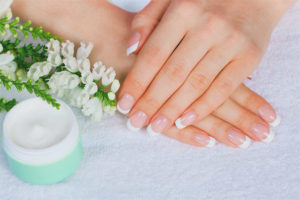
- Apply the finish and dry it for 1 minute. If you have the talent of an artist, you can paint the nail. If there is no such gift, cover the plate with usual varnish in 2 layers, each of them should be dried for 40 seconds.Treat the cuticle with oil and do not wet your hands for 2.5 hours.
Gel nails on tips
- Apply glue to the inside of the tips and stick to the edge of the nail. Hold for 5 seconds to dry. Take a tip cutter and adjust the length. Using a glass file, align the border of the tips and the natural nail, also correct the edge of the artificial plate.
- Type the gel on the brush and cover it with your nail, moving from the cuticle down. Let the gel dry in the lamp; hold your finger there for 2 minutes. Make the next layer, but on the entire surface of the native and artificial nail, dry for 1.5 minutes.
- Take a liquid to remove the sticky layer that formed after polymerization. Apply it on a cotton pad and wipe the nail. Using a nail file 100/120, level the surface, then cover with the finish. Make a drawing or paint with monochromatic varnish in 2 layers. Dry in the lamp for 2 minutes.
Correction of gel nails
- Take the scapula and move the cuticle. Using an 80/100 file, remove 2/3 of the entire gel.
- Sew your regrown nail, aligning the place where it comes into contact with the gel coating.
- Disinfect hands. Apply a primer onto the nail and place it in the lamp for 1 minute.
- Make a layer of gel, as when building, dry for 1.5 minutes and apply a second, also dry it.
- Degrease the surface with a dehydrator, cover with the finish and send to the lamp for 2 minutes. Give your nails the desired shape.
Acrylic nails on the form
- Glue the form by connecting the ends. Get the material under your nail.
- Pour the liquid into the container, moisten the brush in it. Squeeze it out in a convenient way, start to collect powder to make a ball. Make sure that it is dry, otherwise the acrylic will spread on your nail. Let the liquid soak into the powder and proceed with the procedure.
- Start gently rolling the ball in shape and your own nail, without affecting the cuticle. If the layer is too thin, repeat the maneuver. After all the layers are ready, dry your nails, remove the form with tweezers and file the edge to the desired length. Polish the surface with an 80/100 saw, finish and dry in the lamp for 2 minutes. Cover with usual varnish in 2 layers and dry them for 30 seconds each.
Acrylic nails on tips
- Take the tipsy and apply glue to the inner surface, then immediately attach to the tip of your own nail. Hold for 10 seconds to let the tips fit with the natural plate.
- Using an 80/100 file, cut off any irregularities on the surface where the tips goes into your nail. Also at this stage, give the desired shape and cut off the artificial edge with a cutter if it is too long. Cover the nail with primer along the entire length.
- Dip the brush in liquid, squeeze it and lower it into the modeling powder. Apply the composition to the nail with the tips, and wait until the acrylic hardens. Walk sawing on the surface, making it smooth without tubercles and depressions. Apply the finish, then send the nails to dry in the lamp for 2 minutes. Make a design or cover with 2 layers of varnish, dry for 30 seconds.
Correction of acrylic nails
- Disinfect hands, remove the top layer of varnish with a liquid that does not contain acetone.
- Move the cuticle with an orange stick. Completely cut the free edge of the artificial nail, and the entire surface of the plate by 70%.
- Using a nail file, bring your regrown nail to a matte state.
- Dehydrate the nail and cover with primer.
- Start modeling, applying acrylic brush, as when building, trying not to fall on the cuticle.
- Cover the finish and lower your finger into the lamp for 2 minutes.
Important recommendations
- Consult your doctor for contraindications to the use of gel, acrylic, dehydrator, primer and other means. It is important to find out before proceeding with the procedure.
- Nail extensions are contraindicated for women and girls with diabetes, stomach ailments and those who have recently drunk antibiotics.
- Be sure to take a break while wearing artificial turf. Let your nails rest at least once in 2 months.
- Nail extension can lead to cracks and dystrophy of the natural plate. There is also a high risk of getting an infection, so always disinfect the instruments before starting work.
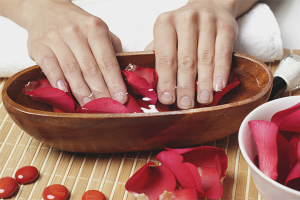
- Often smear the cuticle with special oil, make soda baths (there is 1 tablespoon of soda per 250 ml of water).
Agree, it is not difficult to grow nails at home. It is important to control the process and pay attention to the possible details. Choose the appropriate option for building, decide on materials and conquer the heights ahead. Good luck!
Video: video instructions for nail acrylic

To send