The content of the article
The tradition of decorating a room with ceiling plinths appeared many centuries ago. At that time, this element of design was given special attention. It was one of the main ways to stand out and show the level of their aristocratic development. After centuries, they remain in demand, harmoniously fitting into the modern interior.
The ceiling plinth is a simple finishing material, but in its installation there are nuances that not everyone knows. The purpose of the article is to provide all the necessary information so that you can independently cope with the task.
Preparatory work
After the repair, with the help of additional decorative elements, the room is given a complete look. To do this, use the ceiling plinths or otherwise they are called fillers. The selection of the material should be taken seriously, if you find it difficult to make a choice, contact the consultant in the store.
Choice of plinth
In order to harmoniously combine the ceiling and beautiful walls, it is important to choose suitable baseboards. They are chosen for color, pattern and width. There are five types of ceiling fillets:
- Wooden plinth. Emphasize the classic style of celebration and wealth. It has its own natural texture, fits well into any interior. To work with a wooden plinth, you need to have professional skills. It is not recommended to use this material in rooms with high humidity.
- Plaster plinth. Durable material with a good margin of safety. Gypsum plinth is often found in old mansions, but is also used in modern premises. On sale are ready-made options or special silicone molds for self-casting.
- Polyurethane plinth. Very flexible material, resistant to wear and sudden temperature changes. It is used in those areas where there are bends of various shapes, for example, in rooms with columns. Polyurethane plinth is well combined with suspended and stretch ceiling.
- PVC plinth. This is a plastic profile, characterized by ease of installation.Attached are the inner and outer corners, as well as connecting strips. It is used in any rooms with plastic trim.
- Foam plinth. The most common material used as an additional decorative element. It has little flexibility, it allows you to use it on uneven areas. Skirting foam keeps on any surfaces such as: wallpaper, plaster, wood or plastic.
Width selection
All types of ceiling plinths have different widths. The choice depends on the height of the ceiling.
- 35 mm - for low ceilings;
- 40, 50 mm - suitable for a ceiling of average height from 2.5 to 3 m;
- 60, 70 mm - for high premises from 3 meters or more.
By purchasing material for work, calculate the required number of fillets. To do this, measure the perimeter of the room in which the final stage of the work will be carried out.
Glue selection
Good glue should not only firmly fix the bar, but also dry quickly. The amount of time spent on the installation of the plinth depends on its quality. With a good adhesive composition, the work is carried out without significant delays. On sale there are three types of adhesive compositions:
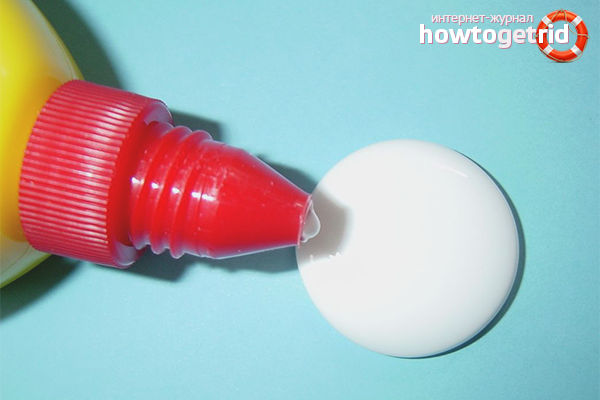
- Polymer glue quickly and securely fixes most types of fillets. Especially often it is used for gluing wooden, plastic and foam plinths.
- Liquid nails firmly hold wood, plaster, foam and flexible fillets. They are of two types: acrylic and neopropylene.
- Glue filler is prepared independently. In certain proportions mix putty, PVA and water. Such an adhesive composition well holds gypsum cornices. It is also used to grind cracks.
Required tools
- building roulette - will help the master to get all the necessary sizes;
- pencil - will be used for marking;
- miter box - the tool will help to make corners correctly;
- saw or sharp knife - for even cutting ceiling plinths;
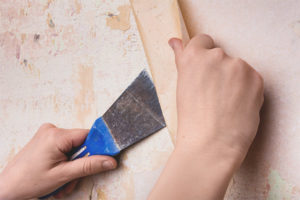
- rubber or metal spatula - will help to remove residual glue and putty.
How to glue the ceiling plinth
All work on the installation of fillets is carried out in two stages. First of all, they create corners, putting them against the wall and carefully measuring them out.At the second stage, they proceed to sticking made angles and straight segments of the ceiling plinth.
Stage 1: Creating the Corners
Correctly made corner, decorate the interior of the apartment. If the walls have uneven areas, the fillet will help to make them less visible. The most difficult step in sticking plinths is the creation of corner joints. This problem can be solved in two ways: with the help of the mess or without it
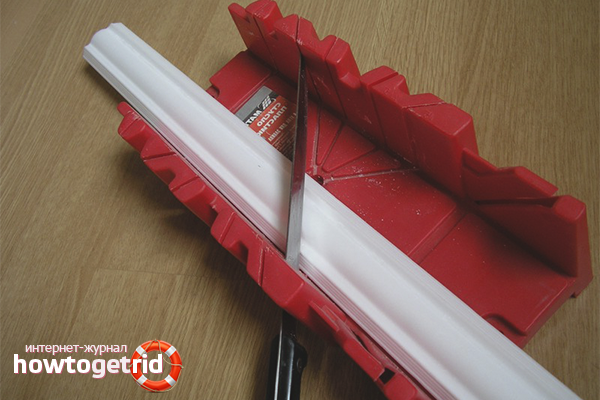
With the help of the vessel. A block is a pattern made of plastic, metal or wood. It may have a diverse appearance or differ in its design. The main purpose of the vessel is to help cut parts at the right angle. For home use, a simple version is suitable, which is a tray with holes - side grooves. These cuts are necessary for the penetration of the blade. With the help of simple mousse make angles of 45 and 90 degrees.
There are templates that have a more complex structure. They help to make angles under the horizontal and vertical slope. The moving parts of the rotary body make it possible to cut the corner with any degree. This tool is convenient to use if you need to paste over several rooms in a short period of time.
Standard apartments have angles of 90 degrees.To properly trim the baseboard at such an angle, put the fillet in the box and cut it with a hacksaw through a 45-degree groove. Then insert the second plinth and dock with the first. Cut the same angle, changing the direction of the groove on the opposite. In order to make sure that the cut corners are correct, place the baseboard against the wall.
In order not to spoil the material, start making corners on test pieces. Be sure to keep in mind that the corners are external and internal, so the methods of trimming differ in construction. The grooves on the walls of the vessel will show the direction in which the hacksaw blade should be inserted. The strip of fillets is always located, just like on the wall.
Without the help of the vessel. Not everyone has this tool available, but the work still needs to be done. Some craftsmen themselves make unpretentious devices from scrap materials. But there are ways to do without the bunk at all.
Surely you have extra pieces from the ceiling plinth left over from the last repair. Such segments are suitable to make an external or internal angle. In order not to be mistaken, do a fitting on the wall where the fillets will be pasted.
Experienced craftsmen who are confident in their eye, quickly make the correct markings on the baseboards and cut corners. Beginners are better to first apply the workpiece for fitting. Having examined all the subtleties of creating the corners of the ceiling plinth, you can proceed to the label.
Stage 2: installation of corners and straight lines
- Installation begins with corner fillets. On each plinth put two parallel strips of adhesive composition. Then they wait 2-3 minutes for the glue to thicken slightly. In this state, it quickly seizes.
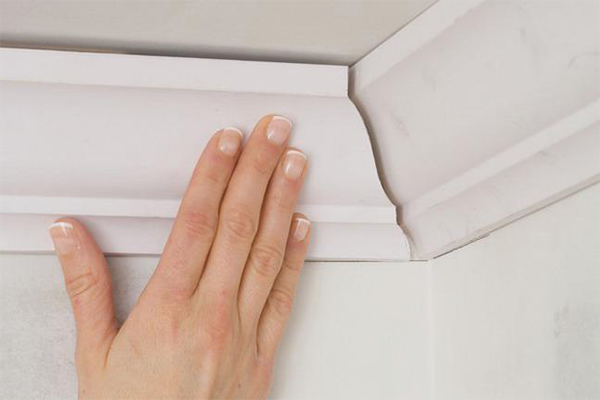
- Attach the corner pieces to the wall and hold it with your hand to harden it. After the plinth has fixed, take a rag and wipe off the excess of extruded glue. Having completed the installation of one corner, proceed to the installation of the next.
- Having joined the corner baseboards, it remains to glue straight segments. Try to join them together, so that the lines of the patterns coincide. The plinth should be loosely attached to the wall. It is not recommended to press on it with force.
- The walls, as well as the ceilings, are not always perfectly puttied and leveled, the baseboard has an amazing ability to encircle the contour of the surface on which it is glued.It is always possible to fix irregular areas with a spatula and mortar.
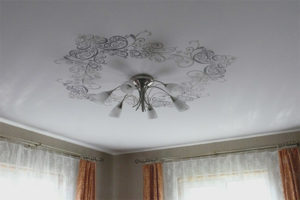
The ceiling plinth perfectly will be suitable for any room, will ideally fit into a modern interior. Galtels easily stick and mask well uneven areas at the junction of walls and ceiling. This is a simple job that you can do yourself. Use the tips given in this article, practice and you will succeed!
Video: how to glue the ceiling plinth


To send