The content of the article
Despite the abundance of the modern market of finishing materials, wallpaper still occupies a leading position. This is due to their diversity, both in the color palette and in many other parameters.
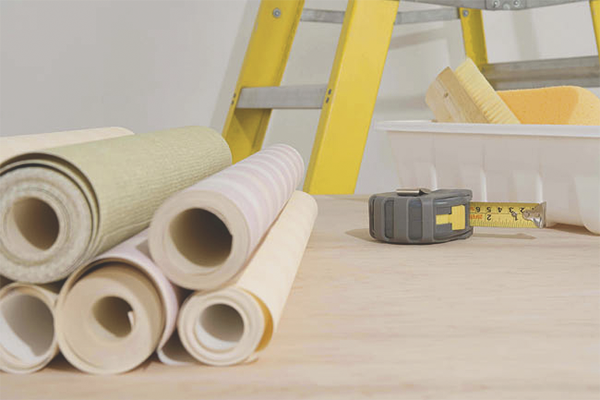
However, when choosing them, this very diversity can play a cruel joke with the buyer. As a result, the wallpaper can be matched in the mismatch of their own expectations. Therefore, it is necessary to choose not only the color and pattern, but also their type.
Benefits of Vinyl Wallpaper
When finishing the room it is recommended to pay special attention to vinyl wallpaper. Compared to classic paper and other models, they have the following advantages:
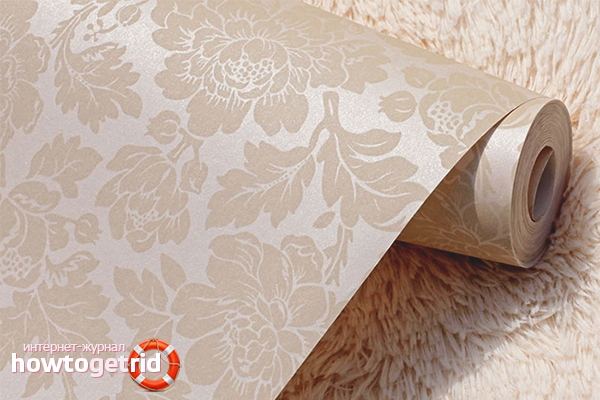
- The abundance of models. The beauty of vinyl wallpaper immediately striking. Their model range is not limited to drawings and color palettes. In addition to the usual smooth wallpaper, you can buy and textured, which can imitate fabric, plaster and even stone.
- Improved noise insulation. Many residents of multi-apartment buildings are aware of the situation when they have to not overly eavesdrop on the conversations of their neighbors. Vinyl wallpapers have a much better soundproofing effect than their paper counterparts.
- Hiding flaws. Vinyl wallpapers do not require perfectly smooth walls. Small cracks and pits will be completely invisible under this material.
In addition to the above advantages can also be noted durability and resistance to moisture and mechanical damage. Those who are worried about the air condition in their own homes can also be calm. Paint for vinyl wallpaper is made of water-based, therefore, does not emit any harmful substances.
Types of Vinyl Wallpaper
If the lines that were written earlier, could convince you to stop at vinyl wallpaper, you should understand their types. So, these wall canvases are of the following types: on paper and non-woven basis.
The advantages of the second option are obvious. Vinyl wallpaper with non-woven base more durable and better hide the irregularities of the wall. In addition, it is much easier to glue them, because the glue is applied only to the walls.
The top layer, that is, the vinyl itself can also be of different types. There are 4 types of them:
- Smooth;
- Foamed;
- Solid;
- Silk screen printing.
To figure out which option is best for your room, it’s worth a brief look at each of them.
Smooth (tight) vinyl
Smooth vinyl is a great solution for the kitchen or bathroom. They endure high humidity. In addition, they can be washed even with the use of various detergents. For solving various design problems, there are also relief models imitating stone or brickwork.
Foamed vinyl
This type of wallpaper is the most popular. Its main feature lies in the skillful concealment of even irregularities at first glance. They have a porous foam structure that allows them to pass air well. For their cleaning allowed the use of wet rags.
Hard vinyl
Solid vinyl wallpaper can mimic a variety of wall materials (fabrics, plaster or tiles). Also, this view is best tolerates various mechanical damage. It is also worth noting that it is well breathable.
Silk screen printing
A special method of manufacture allows you to achieve that their appearance resembles elegant silk fabric. In addition to the beautiful look, the wallpaper is durable and durable. However, the price for such material will be slightly higher than other models.
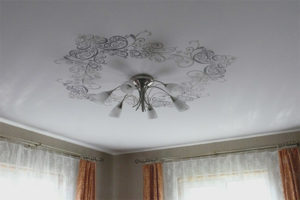
Stages of sticking
When all the pros and cons are weighed, the wallpaper is purchased, the furniture from the room is removed, and the walls are already prepared - there is no way back, you should proceed to pasting the room. The whole procedure can be divided into 4 conditional stages, each of which will be described below.
Stage one. Wallpaper preparation
Each roll should be checked for consistency of shades (it is better to do this even before the purchase), since the same models of different batches may differ slightly. After that, you can proceed to the cutting of the canvas. At the same time it is important that the drawing when joining the segments was complete.
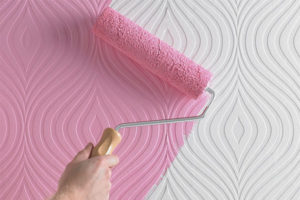
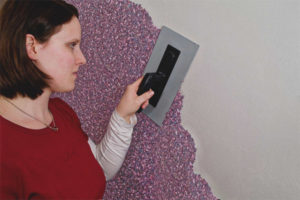
Stage Two. Sticking
Gluing wallpaper is the main and most important step, so you need to treat it with the utmost responsibility and attention. The first thing to do on the wall is an exact markup for sticking each piece.After that glue is applied on its surface. By the way, the right choice of glue is a very important condition when pasting wallpaper. Therefore, you should choose only a quality product that is suitable for non-woven base vinyl wallpaper. So, it was already mentioned that there is no need to apply glue to the canvas. However, for better fixation, it is recommended to grease their edges with an adhesive.
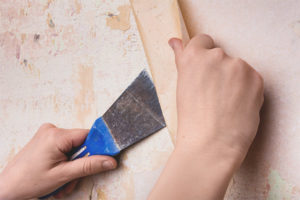
After sticking, you should carefully cut off the excess wallpaper from the top and bottom. Use for this you need only a sharp knife. In addition, everything should be done exactly. But if some mistakes were made, they can be covered with a plinth from below and a molding from above.
Stage Three. What to do with sockets and switches
If you are engaged in gluing wallpaper for the first time and still do not know how to glue places with switches and sockets, the following information is sure to be useful for you.
In fact, there is nothing difficult in this procedure. First, you should de-energize all items in the room and remove the boxes from them. After that, the wallpaper is glued, and in the place of the sockets a cross-shaped incision is made. The canvas is wrapped inside and left to dry.Then the boxes are reassembled and electricity is supplied. As you can see, there is nothing difficult in this, so even the “green” master will master this procedure.
Stage Four. Drying
All procedures are done, and the case remains for small. It is necessary that the wallpaper is completely dry. It will take no more than a day. In this case, do not need anything. The main thing is to ensure a positive temperature and the absence of drafts.
How to stick wallpaper in the corner
Before you embody each of the stages, you should also learn how to glue vinyl wallpaper in the corners. After all, this place can bring a lot of trouble. The thing is that quite often the corners in the room are uneven and when gluing it will necessarily affect. You can verify this with a plumb line or level.

In other cases, you can do without it. However, wallpaper should be overlapped.The first segment is glued so that one of its edges about 4 cm went to the next wall. After using a spatula canvas is well attached to the corner. The second sheet is overlapped by no more than 2 cm. The remaining parts are glued in the usual way, that is, butt-and-over.
Following all the above tips, the room will definitely look great, and the quality of vinyl non-woven wallpaper will preserve its original appearance for a long time.
Video: how to glue non-woven wallpaper


To send