The content of the article
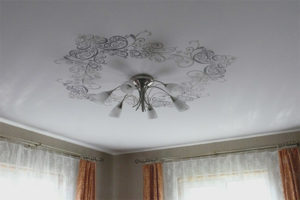
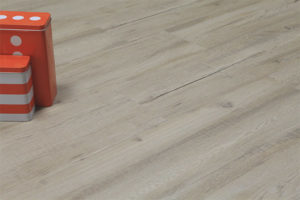
Many of us are a little perfectionists. We want everything to meet certain standards. This also applies to repairs in the house, and in particular, the floors, which in this article will be a key element. There is a huge amount of flooring materials. Each of them has its advantages and disadvantages. However, especially against the background of the rest, the flooring floor is different Its main advantages are that it perfectly aligns the surface. And also it is suitable as a finishing coating. Such a floor can be made in any color or even have a complex pattern. And the main designer novelty is 3D floors.
With design everything is clear. There is no limit to colors and patterns. Therefore, let's get right down to business and find out how to fill the self-leveling floor with your own hands.
Beginning of work
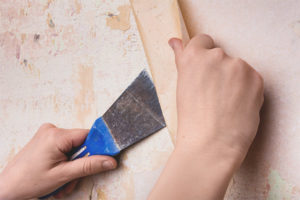
All construction work begins with the preparation, the application of a filler floor is no exception. The first step is to inspect the surface for serious differences in height.If any, you should deal with them with a jackhammer.
Made? Fine. Moving on, but the inspection is not over. Now we are looking for cracks. And if even a small gap was discovered, it should be sealed with special dry mixtures. You can also make a new concrete screed, which is then processed with a primer and other special means. This will give the coating extra strength.
It should not be forgotten that when the temperature and humidity drops, the screed can deform. In order to minimize this effect, a foam deformation tape should be stuck around the perimeter of the room. At the end, when the floor is already dry, this tape will need to be cut. A gap formed seal sealant.
Fill conditions
While pouring the floor, certain conditions should be followed. First of all it concerns the temperature. Indicators on the thermometer should not fall below the mark of +15 degrees. If the temperature is lower, the material consumption increases significantly. However, high temperatures also have a negative effect.They speed up the process of freezing, respectively, you will have less time for work.
All windows and doors in the room should be closed so that there is no draft in the room. However, this is not all. The moisture level of the concrete base should not exceed 4%. If the indicator deviates in a big way, the surface should be treated with a second layer of waterproofing.
Everyone knows the role of primer? If not, read the following sentence. Primer for cement or concrete base is designed to increase adhesion. If you use a cement-sand screed, the usual primer is also suitable. But with a concrete base, it is no longer “a ride”, you will need to buy a special primer. It can be applied with a roller and brush (in hard-to-reach places). If the screed is too porous and dry, the procedure should be repeated. But only after complete drying of the first layer.
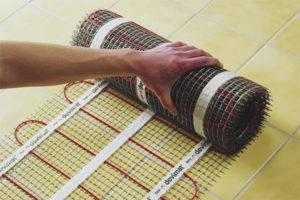
But now a very useful feature will be “burned”. The fact is that without most of the above procedures, you can do. No, this does not mean that you can pour polymer floors on an unprepared base with cracks, holes and mounds.No way! However, you can use a self leveling concrete screed. After drying, the floor will be perfectly level. Another advantage of such a base leveling system is that the floor practically ceases to absorb moisture. In the case of self-leveling floors, this especially plays into the hands. But it is necessary to process it with a primer.
Necessary materials
It is necessary to approach filling of a bulk floor fully armed. A pair of brushes is not enough here, but you should not be afraid, as the set is quite standard. So, you will need:
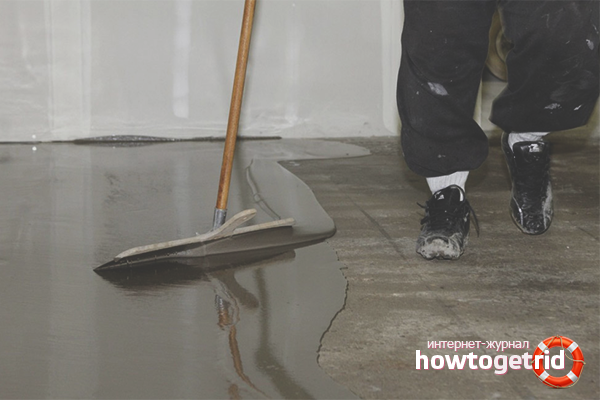
- Wide trowel. It will be required for the preliminary distribution of the total mass poured.
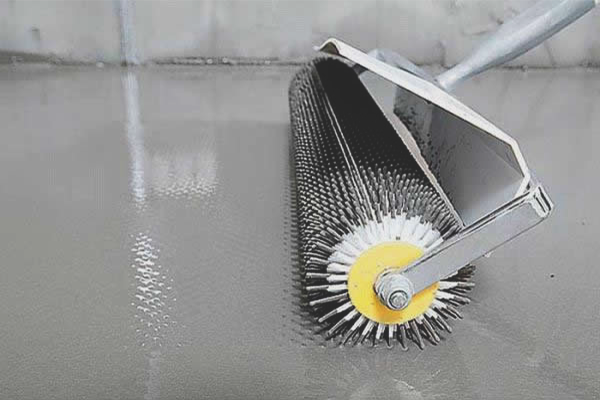
- A needle roller that will remove any air bubbles that appear.
- Construction mixer for mixing the mixture.
- Materials for preliminary repair.
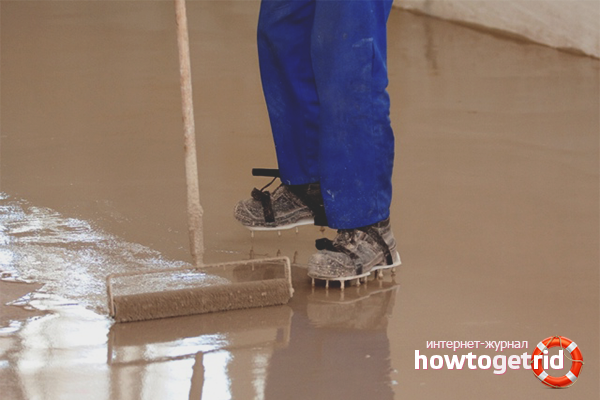
Also, do not forget about the special sole, which is attached to the shoe. It is made in the form of high spikes. Thanks to her, the footprints do not remain on the floor, and shoes will not have to be thrown out.
Carrying out the main work
So, your floor is perfectly level,and the tools neatly folded and ready for use? Fine! Getting Started. You are unlikely to find a self-leveling floor from two different manufacturers with absolutely identical composition. Therefore, giving universal advice on mixing components is meaningless. Therefore, first you should carefully read the instructions attached to the product, so as not to spoil everything at the very beginning.
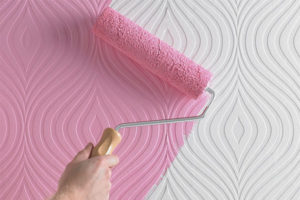
When the mixture is successfully cooked, pour it on the floor. But only without sudden movements. If the liquid gets on the wallpaper, along with the floor will have to change the wall covering. From the tile to remove the traces is easier, but also very problematic. Therefore, we do everything calmly.
Next, using a spatula, the mixture should be evenly distributed throughout the room. By the way, the future floor should be poured near the far wall from the door. Also do not forget about studded nozzles for your shoes. If for the first time you encounter such an experience in the repair of premises, it is better to take a notched trowel. With it, you can more evenly distribute the composition.
Distributed? Do you see air bubbles? So, they should not be. To get rid of them, you need to walk around the room with a needle roller.
The floor is almost ready. Now it remains just to wait for it to dry. Usually it is possible to walk on it in an ordinary shoe in a day. However, with the arrangement of furniture in no hurry. Fully withstand serious load coating can only after 3 days. But it is worth considering that these terms are conditional. As already mentioned, the composition of the material is always different. And not only the method of mixing, but also the setting time depends on it.
How to make 3D floors
If monochromatic options for self-leveling floors do not suit you, make them in 3D. Of course, this option will give the design of the room originality and uniqueness. However, it is necessary to stock up on forces, because the process of their installation is more laborious. If you are not afraid of difficulties, read on.
To make a 3D floor you need to do the same manipulations as when applying the usual material. That is, pour out the liquid, distribute it around the room, remove air bubbles and wait until it is completely dry. However, this is only part of the job.
Next, you will need a special large-format printing, which will stick to the floor. The procedure is somewhat reminiscent of sticking wallpaper, as it is important that in the end there is not a single fold or a single air pocket.Instead of printing, you can also use various items, such as coins.
Now remains the last stage - the application of varnish. It will extend the life of the floor and keep the design from erasing. And if any decorative elements are used, the lacquer will secure them securely.
Regardless of which floors you make, 3D or regular, the result will be perfect. However, if the entire process described seemed complicated to you, use the services of a specialist.
Video: self-leveling floor - the secrets of skill


To send