The content of the article
Independent repair of an apartment is a large, painstaking work, requiring from the owners not only monetary investments, but also experience. Not every owner of his own apartment knows how to lay linoleum on a concrete floor, what tools are needed for this, what should be paid attention to when laying. Our article will help to answer all these questions, as well as give additional advice to those who want to create a perfectly smooth coverage for many years.
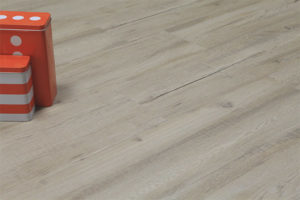
Create a smooth, smooth base surface
Everyone knows that linoleum is an elastic material that can repeat any part of the floor. If it has a bump or protrusion, the linoleum will necessarily repeat all these shortcomings and spoil the complete picture of the repair that has just been done. However, the aesthetics in this case is not the main thing - due to the fact that linoleum spreads over a rough, rough, uneven surface, it stretches and quickly loses its original characteristics.If you want to lay linoleum not for one or two years, but for at least 5-7 years, you need to carefully prepare the base - concrete floor.
Some people, from one phrase - leveling the floor, shudder. “How can the floor be leveled if it was already even?” Some people naively think. Everyone is starting to imagine big bags of sand and cement, dirt, dust and a mess in the whole house. However, in fact, the alignment procedure does not give the owners any difficulties. As they say, the eyes are afraid, and the hands - do!
To level the floor you will need the following tools:
- Master OK
- Reiki or metal profile
- Level, preferably two meters
- Trowel for grouting
There are two options for the alignment procedure:
- If the floor is sloped over the entire surface and has large bumps
- If the concrete floor has deteriorated over time and it is clearly visible dimples, grooves or other minor defects.
The problems described in the first case can be caused by the unfair work of the construction company when building a house, in the second case only time is to blame.Of course, in terms of the amount of work, the first option requires more time, money and experience, however, even the bear is taught to ride a bike, and only a man can do anything!
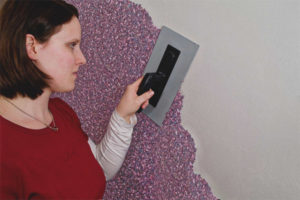
Level the entire floor surface with a cement screed
If you are going to lay linoleum, and the concrete floor spoils your mood with its unevenness, it is not necessary to turn to the masters. Buy a special cement composition (it is sold in 20 or 50 kg bags) and get to work.
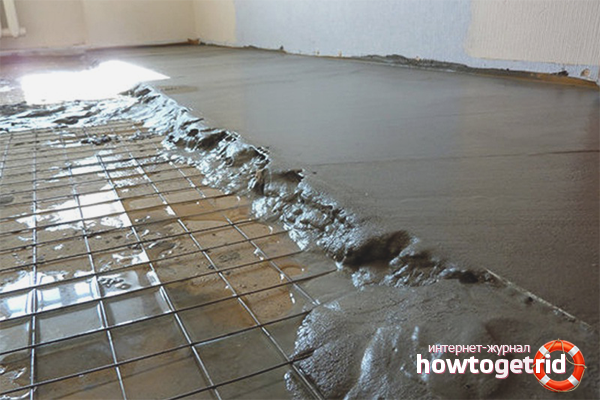
Before the start of the procedure itself, it is necessary to mark the plane in accordance with which the tie will be made. Vertically make such a markup is difficult, but you can use the walls. Mark a line on one wall, then continue to work perpendicularly - as a result, you should get a surface that is absolutely flat along the walls. Next, mentally marking a square sector with sides of 50 cm, begin to fill there. Smooth out with a trowel, work with a spatula, check the cement “puddle” with a level. If you notice that the solution is too loose, add a small amount of cement, and if cracks start to appear immediately after solidification, add sand.In order to get a perfectly flat surface for laying linoleum, walk with a trowel on the ready-made sector with neat, stroking movements - this way you can prevent the appearance of roughness and empty areas.
At this pace, constantly checking the marked markup and level, continue to fill the entire surface of the floor. Remember that it is completely dry only after two or three days, so be patient and take up other useful work.
We restore the concrete base
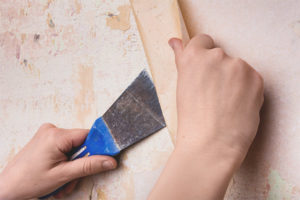
If you notice only small defects on the floor and you want to correct them, you need to purchase a small amount of cement screed. Made on the basis of cement, sand or other polymers, it fills well the voids and firmly connected with adjacent layers. This work is not as ambitious as the previous one, but it also requires accuracy.
Prepare the solution according to the recommendations indicated on the label and transfer it to a small bowl. Using a trowel or trowel, fill the voids in the concrete base, trim them from above.In order for the self-leveling screed to lie snugly against the edges and not crumble after a few days, carefully inspect the deformed area and completely remove all loose or broken layers. This procedure will help extend the shelf life of the new “patch” layer. If all the work has been done, allow the concrete floor to dry, to further lay the linoleum.
Choosing the right linoleum
Everyone knows that concrete is a building material that conducts heat well. Even if the temperature in the room is optimal for normal living, the floor will always be cold. In order to get rid of such a problem, it is necessary to choose the right outdoor material. Today, there are three types of linoleum:
- Single layer
- On felt base
- Fabric based
The first type is the coldest, and is absolutely not suitable for a living room with a concrete base. The second - is considered the best option for laying in a room with concrete floors. Felt retains heat, to which is a kind of substrate, straightening some minor roughness.Fabric-based linoleum is also valued for laying on concrete, due to its low price and acceptable performance. If you are going to give the room not only an original and attractive design, but also strive to keep warm, we recommend staying on the linoleum with a felt layer.
How to lay linoleum
At home, apply two types of laying linoleum:
- Using bonding
- Using ordinary stretching
Each owner chooses his own version depending on preferences and financial means, however laying on a concrete floor by gluing is considered more durable.
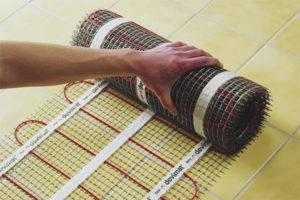
We lay linoleum in the room
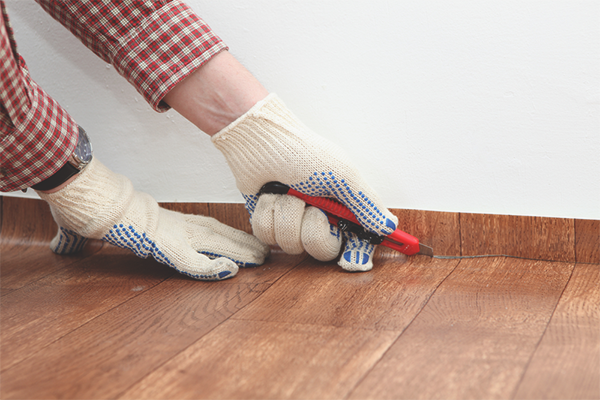
In stores, linoleum is sold in roll - it is convenient not only to transport it, but also to lay it on a prepared surface. The roll, immediately after introduction from the street, should rest a little at room temperature. Further, it is necessary to install it right next to the wall and open it. In the process, you may need a cutter or scissors. Due to the fact that linoleum in this case creeps without gluing, it can be adjusted for a more even and accurate styling.If swelling is noticeable, put a weighty load on them and leave it there for 2-3 days. After all the activities related to the linoleum covering, you can install the baseboard, hiding flaws between the wall.
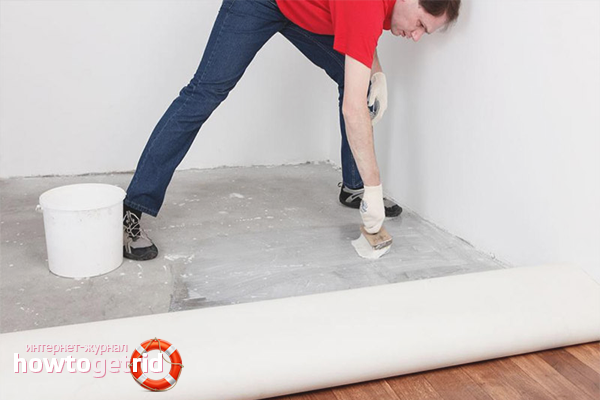
We lay linoleum by means of rubber-bitumen mastic
The second option is more dreary, but in this case the shelf life of linoleum increases by several years at once. Rubber-bitumen mastic is used as an adhesive base - it adheres well to the floor and practically does not emit any harmful substances. In order for the process of gluing linoleum to go smoothly, without any particular problems, it is necessary to immediately position the roll right next to the wall. The roll should be rolled up so that it can be applied to the inner layer. Apply glue in small strokes, gently opening the roll, smoothing the glued facing material with a roller. If you notice air, put a load on this area or once again carefully iron the roller. In order to dock linoleum, you will need special scissors, which will cut two adjacent layers at once.After fitting, the seams are sealed with mastic or special glue. After laying linoleum, the surface should dry for 2 days.
If you decide to lay linoleum yourself on a concrete floor, do not worry about the big problems with leveling and gluing a new facing material. Carefully read the article and get down to business!
Video: how to properly lay linoleum


To send