The content of the article
- 1 What is a liquid wallpaper
- 2 What you need to prepare in advance the surface of the wall
- 3 How to prepare for the application of liquid wallpaper concrete wall
- 4 How to prepare for finishing the walls of the old house
- 5 How to prepare to finish the wall of plasterboard
- 6 Video: instructions for applying liquid wallpaper
Currently, in the building stores you can find a large number of materials intended for decorative wall decoration. Along with modern paper wallpapers, liquid wallpapers have won great popularity - they are easy to use, have a special style and are capable of pleasing their owners with pristine beauty for many years. Everyone knows the positive properties of liquid wallpaper, but when they are self-applied onto the wall, some problems may arise: how to prepare the wall correctly, do you need to level it or leave it in the same position? Our article will help answer these and other questions.
What is a liquid wallpaper
Very often, liquid wallpaper confused with decorative trim, even sellers of small shops can say with confidence that this is one and the same material.In fact, liquid wallpaper is significantly different from the plaster as the composition and method of application.
Liquid wallpaper consists of crushed cellulose fibers and silk, color pigment, decorative additives and glue. This finishing material does not require detailed preparation, as when applying decorative plaster, however, some nuances are available here. Another fundamental difference from decorative plaster is the creation of a monochromatic surface around the perimeter of the wall. Since liquid wallpaper is quite expensive material, it is necessary that even with time it does not lose its original appearance, and the color of the wall has a special relationship to this.
What you need to prepare in advance the surface of the wall
As already noted above, liquid wallpaper - the material is quite expensive, so you should take full responsibility for the preparation of the wall. Due to the fact that this material consists of several thick components and water, over time, the wallpaper can change color, becoming a darker or lighter shade, thereby spoiling the whole style and design of the room. Also, to save material and money, you need to carefully level the surface, eliminate cavities and bumps, so that the liquid wallpaper lays down evenly.
There are some general guidelines for wall preparation:
- Before applying liquid wallpaper, you must carefully check the wall for the presence of small screws, hammered nails and other metal objects. Over time, they can start to rust, which will badly affect the wallpaper.
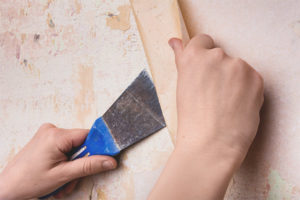
- Carefully remove from the wall all remnants of early applied decorative material - scrape off paint, wallpaper, glue.
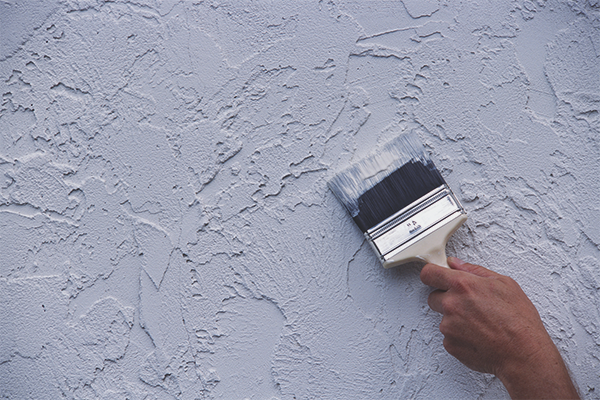
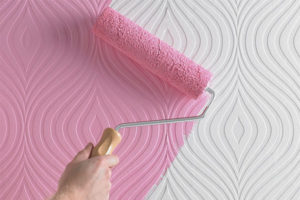
- Treat with primer. Apply a single-color water dispersion paint, usually a light shade.
It is worth adding that these are only general recommendations for preparing the wall for applying liquid wallpaper. Depending on the type and material of the walls, preparatory activities will also differ.
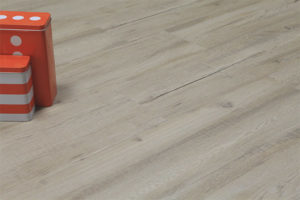
How to prepare for the application of liquid wallpaper concrete wall
If you are going to apply liquid wallpaper in a completely new apartment, or in a house where the walls are plastered, the principle of operation is slightly different from the general recommendations. Since concrete or a plastered surface absorbs a large amount of moisture, there is no point in painting a wall with water dispersion — even after 15 layers applied, the wall will be all the same gray and not monotonous.It is impossible to use oil paints - they do not allow the walls to breathe, and the composition of liquid wallpaper does not fit onto the acrylic surface. The ideal solution in this case would be a plasterboard filler mix. It has a white shade, dense structure, which is necessary for the procedures. Apply a plasterboard mixture must be a thick layer to hide all the irregularities and roughness and make the color of the wall lighter.
Now, when there is a water-repellent base, a primer mixture is applied and painted with water-dispersion paint (it is necessary to create 3 layers). If there is no primer near or you forgot to buy it, you can replace it with PVA glue, which is mixed with paint in a 1: 2 ratio, respectively.
How to prepare for finishing the walls of the old house
The decoration of the walls in old houses, such as "Khrushchev" requires special care, since materials are not known and it is not possible to guess whether a stain will appear somewhere or not, moreover, the level of flatness of the walls makes it possible to be desired. That is why the process of painting and leveling should be given more time and effort.In order not to negate all the repairs done, it is necessary to treat all stages of the preparatory work more responsibly.
- The first thing you need to remove all the old finish - clean the walls from wallpaper, remove nails, screws and so on.
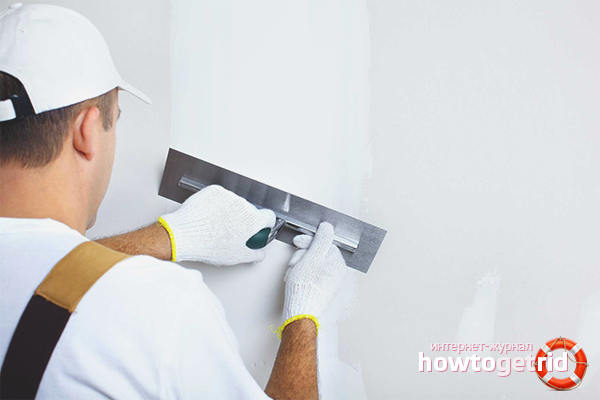
- Clean walls should be impregnated with a primer or a special mixture, which is intended for application under liquid wallpaper.
- After the base coat dries, you should apply the primer again, for best results.
- Next, the wall must be painted with water-dispersion paint in two layers. If you think that this is too much, you can be reassured: liquid wallpapers are too expensive and you can hardly decide to change them every year. Unquestioningly follow all the instructions so that the work done brings you joy, not new problems, such as how to remove a stain or how to reduce the consumption of liquid wallpaper.
- After the last layer of paint has dried, proceed to the application of the decorative decoration. Since all conditions have been created, it will be easy and simple to decorate the walls with liquid wallpaper.
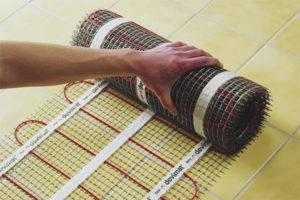
How to prepare to finish the wall of plasterboard
Drywall is the most popular building material that builders really like, because of its versatility, ease of installation and many other positive characteristics. But if you think that liquid wallpaper on a plasterboard surface can be applied without additional preparations, you are deeply mistaken. Drywall, although it has standard properties, is not a good basis for liquid wallpaper, as it can absorb moisture, rust stains from metal screws can appear on the drywall wall - you can list a lot of unexpected situations that can negate all your efforts spoil the whole new environment. In order to prevent such a disastrous result, we recommend following some important tips:
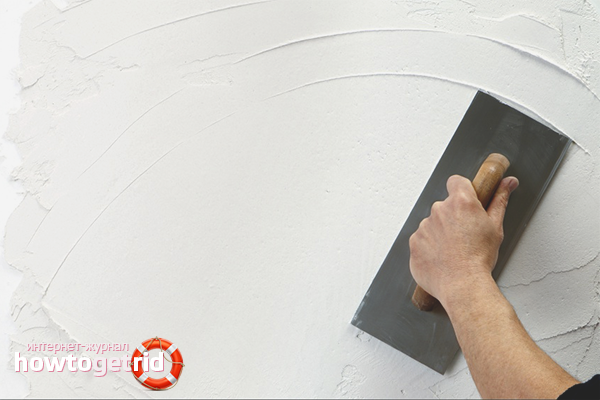
- Some masters believe that it is enough to paint only the joints with light paint, since the surface itself has a white tint. This approach often causes the opposite effect - the colored stripes act as a bright contrast, and the area under the drywall remains gray. In order to avoid such situations, we advise you not to save money,and pre-cover the entire surface with a plastering mixture, in a thin layer, simply to level the entire structure of the wall.
- White water-based paint must also be used over the entire surface of the walls, in order to avoid a single bright accent - the entire wall must be monotonous.
- After the layer of paint has dried, all the subtleties of the work have been strictly followed, you can begin to apply the liquid wallpaper.
Some useful finds:
- If you want to slightly simplify the process of preparing the walls of plasterboard, water-dispersion paint can not be used, but you need to add PVA glue to the plaster, so that the layer also has repulsive properties.
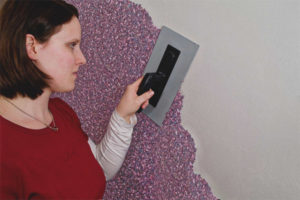
- To level the walls and evenly distribute the plaster, you can use quite ordinary materials for this work - spatulas, trowels, and grouting. Depending on the quality of the wall and texture, you can choose the right tool.
- If there are “leaks” on the wall, that is, you know firsthand what a “flood from above” is, darkened and wet areas should be pre-treated with a special solution.
You can give a large number of recommendations on how to properly prepare the wall for the application of liquid wallpaper, but starting to make repairs, you yourself will understand what the essence is, and the above tips will only help to navigate rather.
Video: instructions for applying liquid wallpaper


To send